
What AirFryer dinners combine flavor and simplicity for beginners?
Published on 6 min readcookingCompare AI models
Roasted chicken with veggies and grilled fish with sweet potatoes are the most recommended dinners for those just starting with the AirFryer. Both dishes take up to 30 minutes to make, use easy-to-find ingredients, and don't require fancy technique. The advantage is you can toss all ingredients in at once—protein and sides cook simultaneously. After testing many recipes, I've found these dishes forgive small mistakes in timing or seasoning—key for beginners.
An AirFryer is an appliance that cooks food by circulating high-speed hot air. This method creates a crispy crust using just 1 tablespoon of oil, compared to 5 or 6 tablespoons for traditional frying. For beginners, the ease lies in not having to flip food or adjust temperature like on the stovetop—you just set the timer and focus on other tasks while it cooks.
How to make roasted chicken with veggies in the AirFryer in 30 minutes?
Chicken with veggies is the ideal recipe when you want a decent meal even if things go wrong. The trick is cutting everything into uniform pieces. I prefer boneless thigh meat cubed to 3cm—natural fat keeps it juicy. Among veggies, carrots are the most reliable: sweet, firm, and perfect at 22 minutes total.

Foolproof step-by-step:
- Line the bottom of a bowl with 1 tablespoon of olive oil.
- Add 1 minced garlic clove per 200g of chicken.
- Season with salt and pepper to taste—this helps you control the amount better.
- Massage the chicken cubes with the mixture using your hands.
- Add the chopped veggies and gently toss.
- Spread evenly in the basket without overcrowding—if needed, cook in batches.
- Drizzle with another tablespoon of olive oil on top.
- Set to 180°C for 12 minutes, stir, and cook for another 10 minutes.
The most common mistake is adding sauce before cooking—sugars burn and cause smoke. For a special touch, squeeze half a lemon over the finished dish. Another frequent error is using unpeeled pumpkin—moisture makes everything soggy.
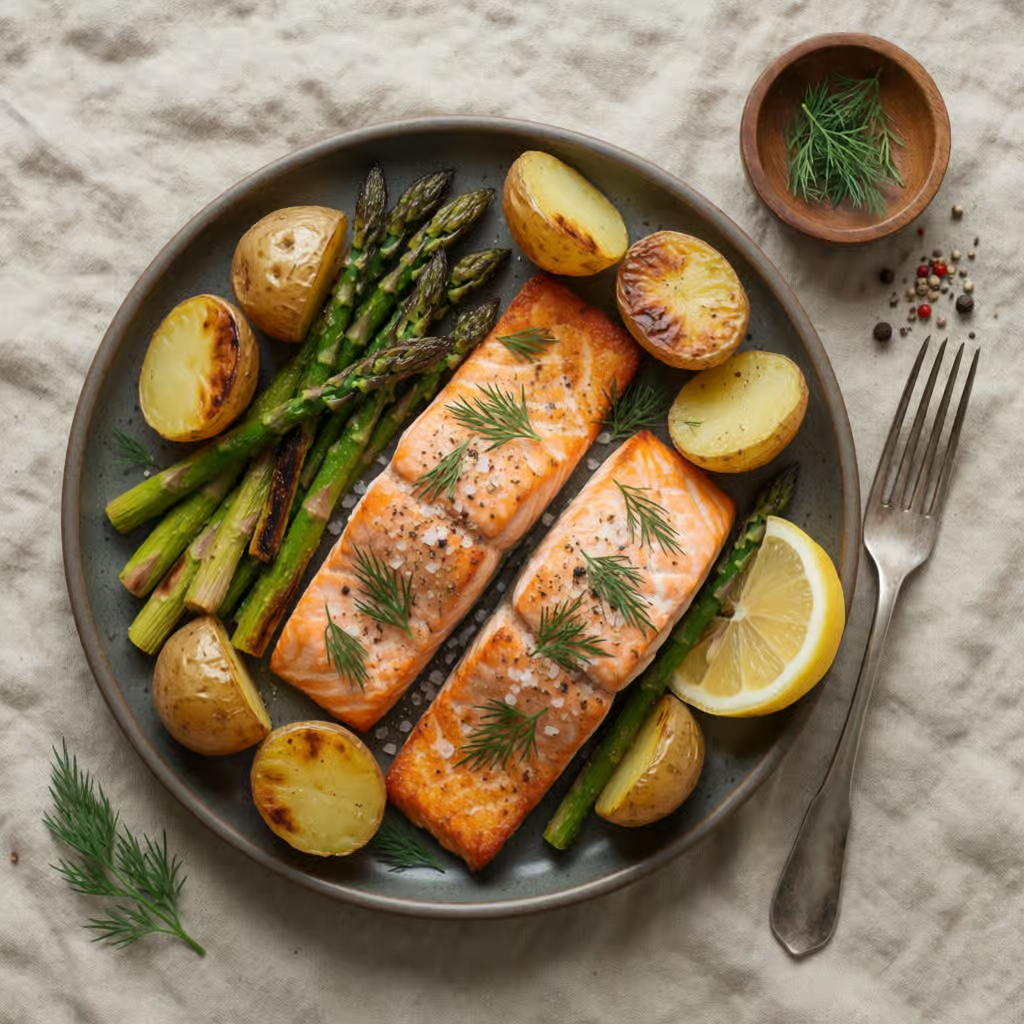
How to make grilled fish with sweet potatoes in the AirFryer without hassle?
White fish with crispy sweet potato fries was the dish that made me trust the AirFryer. Tilapia is the most forgiving—even if overcooked, it won't turn mushy. Sweet potatoes need to be cut into thick matchsticks to get crispy without burning. A key tip: rinse sweet potatoes in cold water and dry thoroughly with paper towels. This removes excess starch that makes them gummy. To go deeper on this point, see How to Make a Quick and Easy Lunch in Your AirFryer.
Technique for always-moist fish:
- Choose fillets 2cm thick (about the width of your index finger).
- Rub with coarse salt and let rest for 10 minutes—then rinse and dry.
- Brush with 1 tablespoon of oil and place lemon slices on top.
- Never cook 200g fillets for more than 10 minutes.
Foolproof preparation order:
- Preheat to 200°C for 3 minutes (critical step).
- Spread seasoned sweet potatoes (with salt and paprika) in the basket.
- Cook for 12 minutes, shaking the basket halfway through.
- Open, place the fish fillets, and reduce heat to 180°C.
- Cook for 8 minutes—no need to flip.
If sweet potatoes are still pale, remove the fish and cook the potatoes for 3-4 more minutes. The biggest mistake is cooking frozen fish directly—it releases water and becomes flaky. Thaw in the fridge for 12 hours.
How to adapt these recipes to mix up your menu?
These base recipes allow substitutions based on what you have. The rule is to swap with ingredients that cook in similar times:
| Original | Possible Substitution | Reason |
|---|---|---|
| Chicken | Bone-in thigh | Similar cooking time |
| Carrot | Cubed chayote | Both firm and neutral in flavor |
| Tilapia | Cod | Same texture and thickness |
| Sweet potato fries | Jicama fries | Both crispy in the same time |
For seasonings, dry powders stick better than fresh ones in the AirFryer. My go-to mix is smoked paprika and garlic powder. Fresh herbs should be added only at the end. Watch out for pre-made seasonings—many have starch and burn easily.
What to look for when choosing an AirFryer for beginners?
After testing many models, I recommend:
- Removable basket: Makes flipping food and cleaning easier.
- Transparent window: Lets you check progress without opening.
- Simple controls: Just time and temperature are needed.
- 3.5 to 5 liter capacity: Ideal for 2 people.
Pre-programmed functions are unnecessary—you'll only use 180°C and 200°C in practice. Rotating basket models are efficient but require immediate cleaning to prevent residue buildup.
How to avoid the 3 most common beginner mistakes in the AirFryer?
- Overcrowding food: Stacking blocks air circulation. If it doesn't fit, cook in batches—better than undercooked food.
- Not preheating: Those 3 minutes make a difference in texture, especially for crispy foods.
- Using too much oil: 1 tablespoon is enough. More causes smoke and greasy food.
*This text is for informational purposes only and does not replace professional advice. Consult a nutritionist for specific diets.*
Frequently asked questions
Can I use parchment paper in the AirFryer? Yes, but only with AirFryer-specific parchment that has holes for air circulation. Regular parchment may burn and block hot air flow. Cut a circle smaller than the basket to ensure air circulates properly.
How to clean the AirFryer without damaging it? Wait for it to cool completely, remove the basket, and wash with warm, soapy water. Use a soft sponge to avoid scratching the non-stick coating. For stubborn residue, soak in a baking soda and water solution for 10 minutes. Never use steel wool or abrasive cleaners.
Can I bake a cake in the AirFryer? Yes, but only for small, adapted recipes. Use AirFryer-specific silicone molds and reduce the temperature by 20°C from the original recipe. Mug cakes are best for beginners—they cook quickly and evenly.
Why does my food come out dry in the AirFryer? This happens when cooking time is too long or temperature is too high. Lean proteins like chicken breast need no more than 15 minutes at 180°C. For foods that dry out easily, brush with a little oil before cooking and check a few minutes before the scheduled time.
What's the best way to thaw food for the AirFryer? Plan ahead and thaw in the fridge for 12 hours. If you need to speed up, use the defrost function in the microwave, but dry thoroughly before placing in the AirFryer. Never cook frozen food directly—it releases water and won't get crispy.
How to prevent food from sticking to the basket? Besides using a little oil, preheat the AirFryer for 2 minutes before adding food. For meats, wait until a crust forms before trying to flip. If it sticks, don't force it—wait until it cools slightly and use a silicone spatula to loosen it.
Read also
- How excessive screen time affects kids and what to do practically
- How to understand the squishy market in Brazil before starting a business
See also
Frequently asked questions
How to make roasted chicken with veggies in an AirFryer without messing up?
Cut the chicken and veggies into uniform sizes, season with garlic, salt, and pepper, and spread in the basket without overlapping. Cook at 180°C for 12 minutes, stir, and let it cook for another 10. Avoid adding sauces before cooking and dry veggies like pumpkin well so they don't get soggy.
What fish to use in an AirFryer so it doesn't get rubbery?
Tilapia is the best option because it's tolerant of small time mistakes. Choose fillets that are 2cm thick, season with salt and olive oil, and place lemon slices on top. Never cook 200g fillets for more than 10 minutes and avoid cooking frozen fish directly.
How to prevent food from sticking to the AirFryer basket?
Preheat the AirFryer for 2 minutes before putting in the food and use a little oil. For meats, wait to form a crust before flipping. If it sticks, don't force it - wait a bit to cool down and use a silicone spatula to loosen it.