
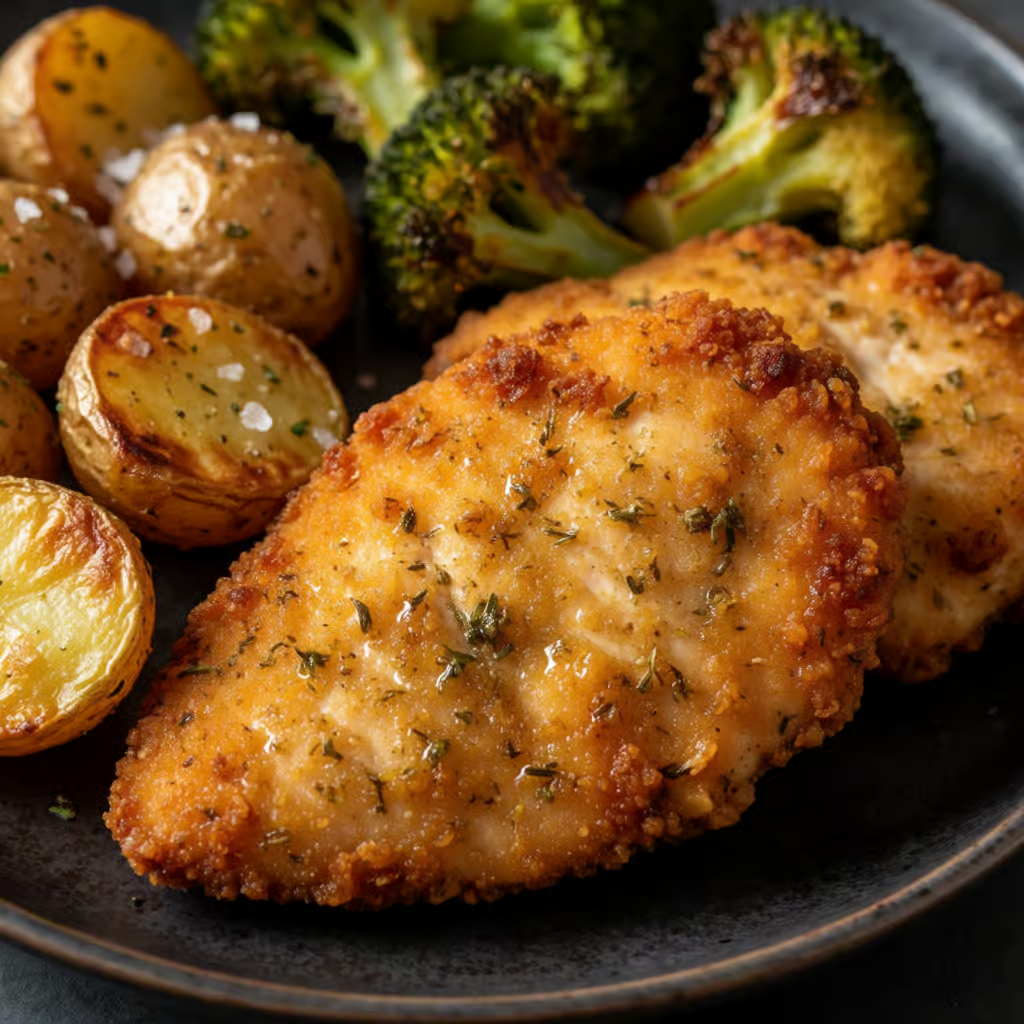
How to Make a Quick and Easy Lunch in Your AirFryer
Published on 5 min readcookingCompare AI models
Making a complete lunch in your AirFryer takes 20 to 30 minutes if you know how to organize ingredients by cooking time. Chicken takes 18 minutes at 180°C, while chopped vegetables need 10 to 15 minutes at 160°C. What changed my routine was setting aside 5 minutes beforehand to season everything and cut it to the right size — that way, the AirFryer does the work on its own without needing to open the basket all the time.
How to Build a Complete Lunch in One Bake
The big advantage of the AirFryer is cooking protein and sides together, but you need to know the right order. I always start with the item that takes the longest: I put cubed potatoes in first, then add the chicken after 5 minutes. When I make salmon with broccoli, the fish takes 12 minutes total, but the vegetables go in 3 minutes earlier because they need more heat. The secret is uniform cutting — if one ingredient is much larger than another, it will cook unevenly. To go deeper on this point, see How to Make a Paper Squishy at Home.
- Sweet Potato Chicken: 20 minutes total (5 minutes just for the sweet potato + 15 with the chicken)
- White Fish with Pumpkin: 15 minutes (fish for 12, pumpkin goes in at 9 minutes)
- Eggplant with Mushrooms: 12 minutes in a single layer, drizzled with olive oil
The Mistake That Ruins Your Lunch in the AirFryer
Overloading the basket is the easiest way to end up with undercooked food. After several tries, I learned that air needs to circulate freely — now I never fill more than 2/3 of the basket. Another pitfall is forgetting that frozen foods need 2 to 3 extra minutes. And there's a simple trick that makes a difference: shaking the basket halfway through, especially with small vegetables like peas or mini carrots, which tend to clump together.
| Ingredient | Temperature | Time | Critical Point |
|---|---|---|---|
| Chicken Fillet | 180°C | 18 min | Flip halfway through cooking |
| Broccoli | 160°C | 12 min | Stir after 6 minutes |
| Shredded Potato | 200°C | 8 min | Spread in a thin layer |
Ingredients That Save Time Without Sacrificing Quality
I’ve found that it’s worth paying a bit more for pre-washed and chopped broccoli — it saves 10 minutes of prep time. Pre-seasoned meats are convenient, but industrial ones usually have too much sodium: I prefer seasoning my own the night before. My latest find is pre-sliced mushrooms, which turn out perfect in 8 minutes with no cleaning work.
- Best to avoid: Loose frozen vegetables (they stick to the basket and cook unevenly)
- Worth it: Pre-washed, ready-to-cook vegetable mixes
- Surprise tip: Cherry tomatoes are amazing at 6 minutes at 170°C — they become sweet and slightly caramelized
How to Reuse Leftovers Without Making Them Dry
Leftover food stays good in the fridge for up to 3 days when stored properly, but reheating requires adjustments. Vegetables only need 3 minutes at 160°C to avoid turning to leather, while meats take 5 to 7 minutes at 180°C with a spoonful of water in the bottom of the container. If you don’t hear that characteristic air-circulating noise, it’s a sign the center is still frozen. Getting into the habit of doubling portions on Sundays saved me during the busiest weeks.
How to Clean Your AirFryer Without Effort After Lunch
After using it daily for months, I developed a quick method: wait 5 minutes to cool, remove the basket, and submerge it in warm, soapy water. While that soaks, wipe the inside of the appliance with a damp cloth to remove grease residue. The trickiest part is the basket’s nooks — I use an old toothbrush to dislodge food bits. Drying thoroughly before storing prevents unpleasant odors.
3 Quick Recipes for Days When You’re Not Creative
- Chessy Chicken: Cube chicken, slice bell peppers and onions, and bake at 180°C for 15 minutes with a light soy sauce glaze
- AirFryer Omelet: Whisk 2 eggs with your favorite filling, pour into a greased small dish, and bake at 160°C for 12 minutes
- Crunchy Nachos: Spread tortillas in the basket, bake at 190°C for 5 minutes, then top with beans and shredded cheese
How to Organize Ingredients to Cook Faster
Wash and dry all vegetables as soon as you get them from the market. Cut them into uniform sizes and store them in airtight containers. You can season proteins and freeze them in individual portions — thaw in the fridge overnight. I have a fridge organizer just for AirFryer prepped ingredients.
Common Mistakes for Beginners
- Not preheating the AirFryer for 3 minutes before adding food (this ensures even cooking)
- Using too much spray oil (it clogs the basket’s nooks)
- Forgetting that different foods need different ideal temperatures (you can’t bake everything at 200°C)
Read Also
- How Screen Overuse Affects Kids and What to Do About It
- How to Understand the Squishy Market in Brazil Before Starting Out
See also
Frequently asked questions
Can I bake bread in the AirFryer?
Yes, loaf or French bread becomes crispy in 5 minutes at 180°C. For frozen bread, add 2 minutes. Be careful not to leave it in too long — it dries out easily.
How do I avoid food tasting like plastic?
This happens when the temperature is too high for light foods. Reduce it to 160°C and cut the time by 20% when baking leafy vegetables or delicate foods. Washing the basket thoroughly after each use also eliminates odors.
Can I fry eggs in the AirFryer?
Yes, but be careful. Crack the egg into a greased ramekin and bake at 160°C for 8 minutes. The yolk stays runny — for a firm yolk, add 2 more minutes. Never put the egg directly in the basket.
Is it worth buying AirFryer accessories?
It depends on how you use it. The cake pan is useful, but the double grill makes cleaning harder. I recommend starting with the rotating skewer (great for roasting whole chicken) and evaluating later.