
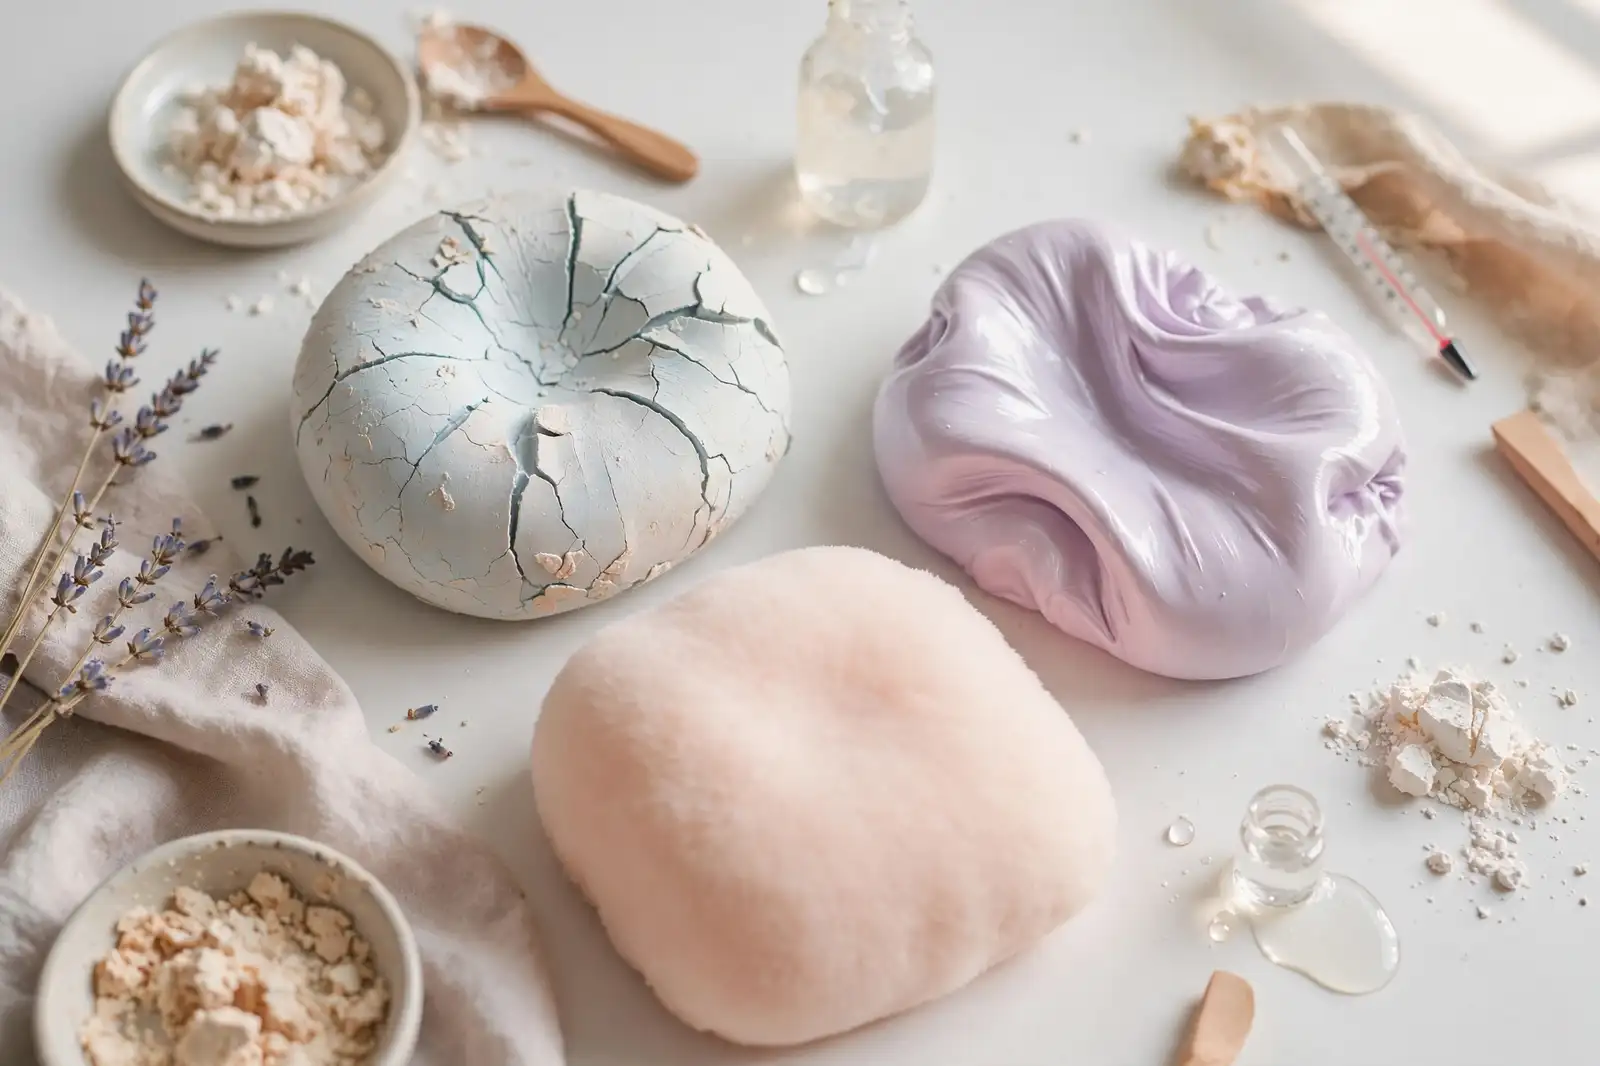
Why Is My Homemade Squishy Hard or Rubbery? Causes and Fixes
Published on 7 min readSquishiesCompare AI models
Your homemade squishy turns hard or rubbery because of two main issues: the wrong type of foam and a glue-drying process that creates a thick, rigid skin. I get a soft, slow-rising squishy by using open-cell polyurethane foam and applying multiple thin layers of diluted white glue, with a full 48-hour drying period. You can fix an existing hard squishy by carefully slicing off its outer crust and refinishing it correctly.
What Makes a Homemade Squishy Hard?
A squishy hardens when its outer layer forms a thick, rigid film. This film is dried white glue. White glue dries into a plastic-like shell, and if you apply too much or don't dilute it, that shell prevents the foam underneath from compressing.
Your choice of foam is just as critical. Floral foam—the green, crumbly kind—is a common culprit. It feels soft initially but collapses and hardens after a few squeezes. The right material is open-cell polyurethane foam. This foam has interconnected pores that close and reopen, giving you that satisfying, slow return to shape.
Rushing the drying process is another mistake. If you paint or varnish over glue that's still damp, you trap moisture. The result is often a rubbery, tacky texture instead of a hard one. Drying must be slow and happen in a ventilated spot, away from direct heat or sun.
Mistakes That Make a Squishy Rubbery
A rubbery texture feels different from a hard one. The squishy compresses but snaps back too quickly or doesn't fully reinflate. The primary cause is, again, excess glue. A thick layer of dried glue acts like a rubber band, losing that slow, memory-foam effect.
Using silicone-based glue or sealant directly on the foam is a specific error. Silicone is flexible, but in a thick coat, it dries with an eraser-like consistency that's bouncy and wrong. If you want a silky feel, you mix silicone-infused fiberfill into your glue mixture; you don't paint silicone on top.
A seemingly harmless mistake is testing the squishy too soon. Squeezing it while the glue layers are still wet permanently deforms the foam's structure. You have to wait for it to dry completely before you check the texture.
How to Choose the Right Foam for a Soft Squishy
The foam is the squishy's core. You typically encounter three types, and they behave very differently.
- Floral Foam: It's cheap and easy to carve, but it crumbles and hardens. I only use it for practicing shapes, never for a final squishy.
- Open-Cell Polyurethane Foam: This is the most recommended type. Its porous structure allows for slow compression and recovery. You can find it as scraps from upholstery or mattress shops.
- Silicone-Infused Fiberfill: This pillow stuffing gives a very soft, silky feel when mixed with glue. The resulting squishy is extremely soft but lacks firmness and doesn't hold intricate shapes well.
I prefer medium-density open-cell polyurethane foam. It offers a good balance—it holds its shape for detailing but still compresses nicely. High-density foam makes a firmer squishy, which can work for decorative figures but isn't ideal for a stress-relief toy.
Step-by-Step: How to Make a Soft Homemade Squishy
Follow this order to nail the texture on your first try.

- Cut the polyurethane foam into your desired shape using a craft knife or sharp scissors. A smooth cut means you'll need less glue to seal it.
- Mix white glue and water in a 2:1 ratio (two parts glue, one part water). Diluting the glue is non-negotiable; it prevents a hard crust from forming.
- Apply the mixture with a brush in one thin, even layer. Coat the entire surface but don't soak the foam.
- Let it dry for 4 to 6 hours in a well-ventilated area. The surface must be completely dry to the touch before you add another layer.
- Repeat the application 2 to 3 more times, always with thin layers. Each layer strengthens the surface without sacrificing softness.
- Paint with diluted acrylic paint. Use paint thinned with water. Thick, undiluted paint creates its own rigid film.
- Finish with a glass varnish spray if you want shine. Glass varnish stays more flexible than regular varnish, so it won't harden your squishy.
- Wait 24 to 48 hours before you squeeze it. Full, patient drying is what locks in the final, soft texture.
The most common error here is skipping the glue dilution. Pure glue dries fast and forms a brittle shell. Adding water lets the glue penetrate the foam and dry flexibly.
Table: Comparing Glues and Finishes for Squishy
| Material | Effect on Texture | Recommendation |
|---|---|---|
| Diluted white glue | Soft, allows good compression | Best option for beginners |
| Pure white glue | Hard, creates a brittle crust | Avoid, unless you want a firm decorative piece |
| Silicone glue | Rubbery and often sticky | Use only as a tiny detail, never in a thick layer |
| Glass varnish | Adds shine without hardening | Great for the final protective finish |
| Regular varnish | Hardens the surface significantly | Use only on squishies meant for display, not squeezing |
Common Mistakes and How to Fix Them
Hard squishy after drying
Symptom: The squishy won't compress, even with force. Cause: Too much glue or paint created a thick surface crust. Fix: Carefully slice off the outer layer with a craft knife, then redo the finish using diluted glue.
Squishy that snaps back too fast
Symptom: You squeeze it, and it immediately pops back without the slow rising effect. Cause: The foam is too dense (high-density) or you've used too much glue. Fix: Start over with open-cell foam and use less glue per layer. The slow return depends on the foam's structure, not the glue.
Sticky squishy
Symptom: It feels tacky, sticks to your hand, or leaves residue. Cause: Incomplete drying or using a silicone-based adhesive. Fix: Let it dry for another full day. If it's still sticky, dust it lightly with talcum powder, then brush off the excess.
Is It Worth Making a Homemade Squishy or Buying One Ready-Made?
Making your own pays off if you want a custom shape or to save money. A homemade squishy costs just a few dollars in materials, while specialty imported ones can be pricey. The trade-off is time and consistency—drying takes days, and your results depend on the exact foam you source. To go deeper on this point, see What filling should I use for my homemade squishy to keep it soft and.

If you've tried and failed a few times, the problem is likely the foam. Before you quit, test the process with a scrap of proper open-cell polyurethane foam—the difference is night and day.
Your next step is straightforward: get some open-cell polyurethane foam and test the step-by-step guide on a small, simple shape. With a couple hours of work and two days of patience, you'll have a soft squishy that slowly returns to form.
*This article is for informational purposes only and does not replace professional advice.*
See also
Frequently asked questions
How long does it take for a homemade squishy to dry completely?
A homemade squishy takes 24 to 48 hours to dry completely, depending on the thickness of the glue layers. On humid days, it may take longer. Do not squeeze it before that time, because the internal moisture will deform the foam and leave the texture rubbery.
Can I use pillow foam to make a squishy?
Yes, as long as the pillow foam is open-cell polyurethane. Viscoelastic foams, like memory foam pillows, also work but tend to be firmer. Test a small piece before cutting the final shape.
How do I make my squishy slow rising?
The slow rising effect depends on the foam density and the amount of glue. Use low-density open-cell polyurethane foam and apply thin layers of diluted glue. The more glue you use, the faster it returns, so the secret is to use just enough to give it resistance.
What should I do if my homemade squishy shrinks after a few days?
If the squishy shrinks, the foam has lost its structure — common with floral foam or when the glue didn't penetrate enough. The solution is to reapply a thin layer of diluted glue inside, if possible, or remake it with polyurethane foam. Floral foam is not durable.