
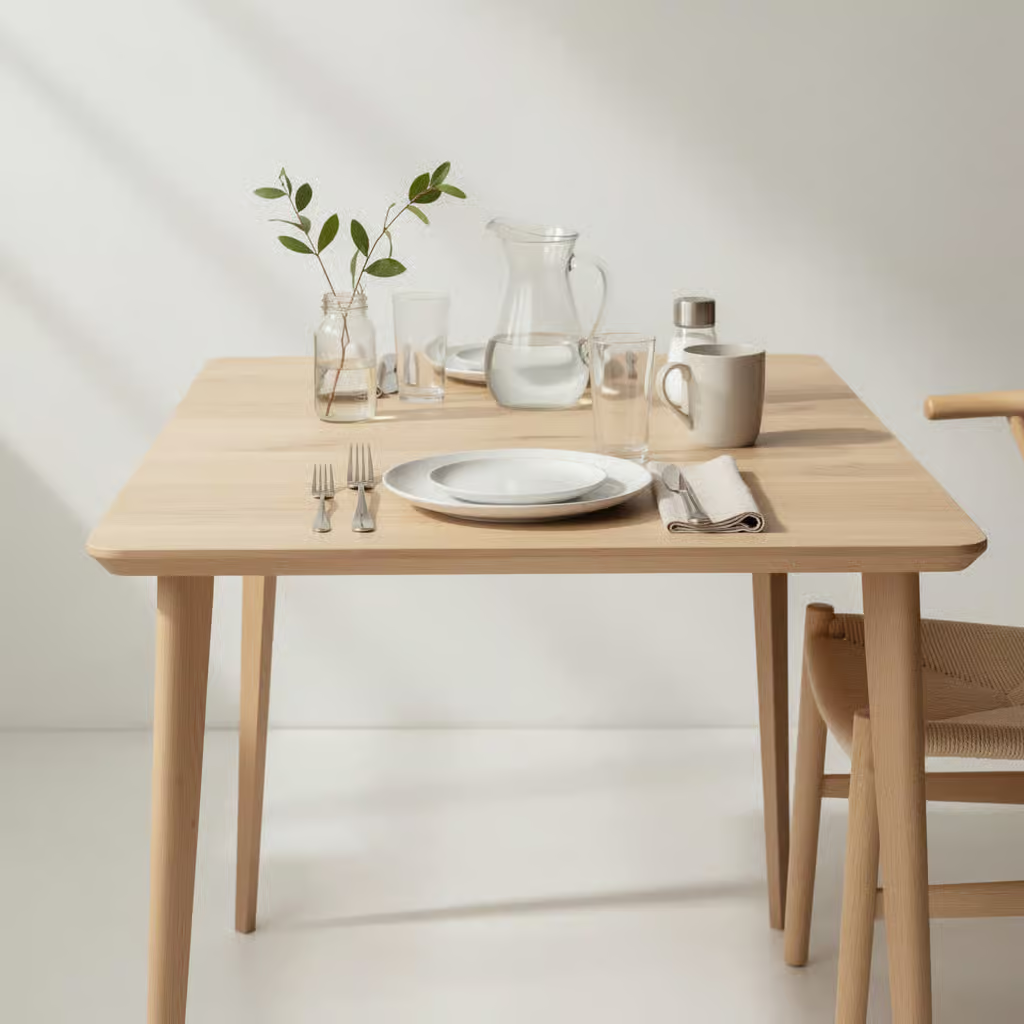
No-Fuss Table Setting
You don't need fancy dishware to set a welcoming table—just a few placement basics and whatever plates you already own. I've hosted everything from weeknight dinners to holiday meals using thrifted mismatches, and the secret lies in arranging pieces with intention. Keep the main plate an inch from the table edge, place utensils in order of use, and remember you can always remove items if the table feels crowded. A cloth napkin and single candle often create better ambiance than a full set of expensive china.
Who needs this guide?
- First-time hosts intimidated by formal rules. You'll learn which pieces matter for different meals—no one needs seven forks for Tuesday tacos.
- Casual entertainers looking to elevate everyday meals. Swapping paper towels for fabric napkins takes 30 seconds but changes the feel completely.
- Small-space dwellers short on storage. We'll focus on multi-use items like salad plates that double as dessert dishes.
The mistake I made early on? Putting out every serving spoon and specialty glass I owned. Start with these essentials:
- Plates (one per person)
- Basic utensils (one fork, knife, spoon per person)
- Water glasses
- One centerpiece item
You can always bring out extra pieces as needed during the meal. I keep a small tray in my kitchen with 'extras' like bread plates and specialty utensils, so I'm not cluttering the table unnecessarily.
Core placement rules
#### Plates and bowls
Your main plate anchors the setting. For most meals, position it:
- Centered in front of each chair
- 1 inch from the table's edge (use your thumb to measure—it's roughly an inch wide)
Stack additional plates directly above if serving multiple courses. Here's how I do it without owning specialty plates:
- Salad or appetizer plate on dinner plate
- Bread plate top left (11 o'clock position) if serving bread
I use the same mid-sized plates for both main dishes and salads to save space. The visual trick? Place the salad plate slightly off-center on the dinner plate rather than perfectly centered—it looks intentional rather than like you're missing pieces.
#### Flatware essentials
- Forks go on the left, tines up
- Knives on the right, blade facing the plate
- Spoons to the right of knives
Arrange them in the order they'll be used, working outward from the plate. For a three-course meal:
- Salad fork (smaller) left of dinner fork
- Dinner knife immediately right of plate
- Soup spoon right of teaspoon
For casual meals, only provide what the menu requires. No soup? Skip the soup spoon. Finger foods? Maybe just a fork. I keep a mental checklist: if I wouldn't use it during the meal, it doesn't belong on the table initially.
#### Glassware
Place the water glass directly above the knife. Wine glasses go to its right, slightly lower. When I'm short on space:
- Stemless glasses work for both water and wine
- For brunch, move the coffee mug where the wine glass would be
- Skip separate juice glasses—use the water glass for all non-alcoholic drinks
A common mistake is overcrowding the glassware area. Unless you're serving multiple wines, one glass per person is sufficient—guests can always rinse between beverages if needed.
Decorating with what you have
- Charger substitute: Use a wooden cutting board, large decorative tile, or even a colorful placemat under plates
- Napkin alternatives: Bandanas, dish towels, or scrap fabric cut into squares (hem the edges with fabric glue if you don't sew)
- Centerpieces: A bowl of fruit, potted herb, or clustered candles (unscented for meals)
My go-to is a plain cotton table runner—it defines the space without competing with the food. Darker colors hide spills better than white. I've found patterned fabrics work better than solids at hiding wrinkles if you don't have time to iron.
Adapting for different meals
| Meal | Key Changes | What to Skip | Pro Tip |
|---|---|---|---|
| Breakfast | Coffee mug replaces wine glass | Multiple forks | Use colorful mugs as de facto centerpieces |
| Brunch | Add small fork above plate for pastries | Bread plate unless serving toast | Stack plates at buffet station with napkins between to prevent sliding |
| Pasta night | Large spoon replaces soup spoon | Salad fork if no starter | Place serving spoon directly in pasta bowl for family-style meals |
For buffet-style meals, set up a station with:
- Stacked plates at the front
- Rolled utensils in a basket (wrap fork, knife, and napkin together)
- Glasses clustered near beverages
This keeps traffic flowing better than placing everything in a single line.
Maintenance and storage
- Stain treatment: Soak linens immediately in cold water with baking soda—hot water sets stains
- Silverware care: Store in a fabric-lined drawer divider to prevent scratching; rub tarnished pieces with toothpaste and a soft cloth
- Dishware stacking: Place paper napkins between plates to prevent chips
- Glass storage: Wine glasses can hang upside down from a towel bar if cabinet space is limited
I keep a basic toolkit in one cabinet:
- 4-6 cloth napkins in neutral colors
- 8 matching plates (they don't have to be expensive, just cohesive)
- 8 all-purpose glasses (mine are stemless that work for water and wine)
- 1 serving bowl that doubles as a centerpiece
Why these rules work for real life
The key is understanding that table setting is about function first, form second. All the traditional placement rules exist to:
- Keep serving logistics smooth (utensils used first are farthest out)
- Maximize space (1-inch border prevents elbow bumps)
- Minimize clutter (only what's needed for this meal)
When I stopped trying to replicate magazine spreads and focused on these principles, my tables looked better with half the effort. Your favorite takeout tastes better on a thoughtfully set table—even if that table has comic-book placemats and juice glasses.
*This guide provides general table setting principles. For formal dining etiquette or specific cultural traditions, consult additional resources.*