
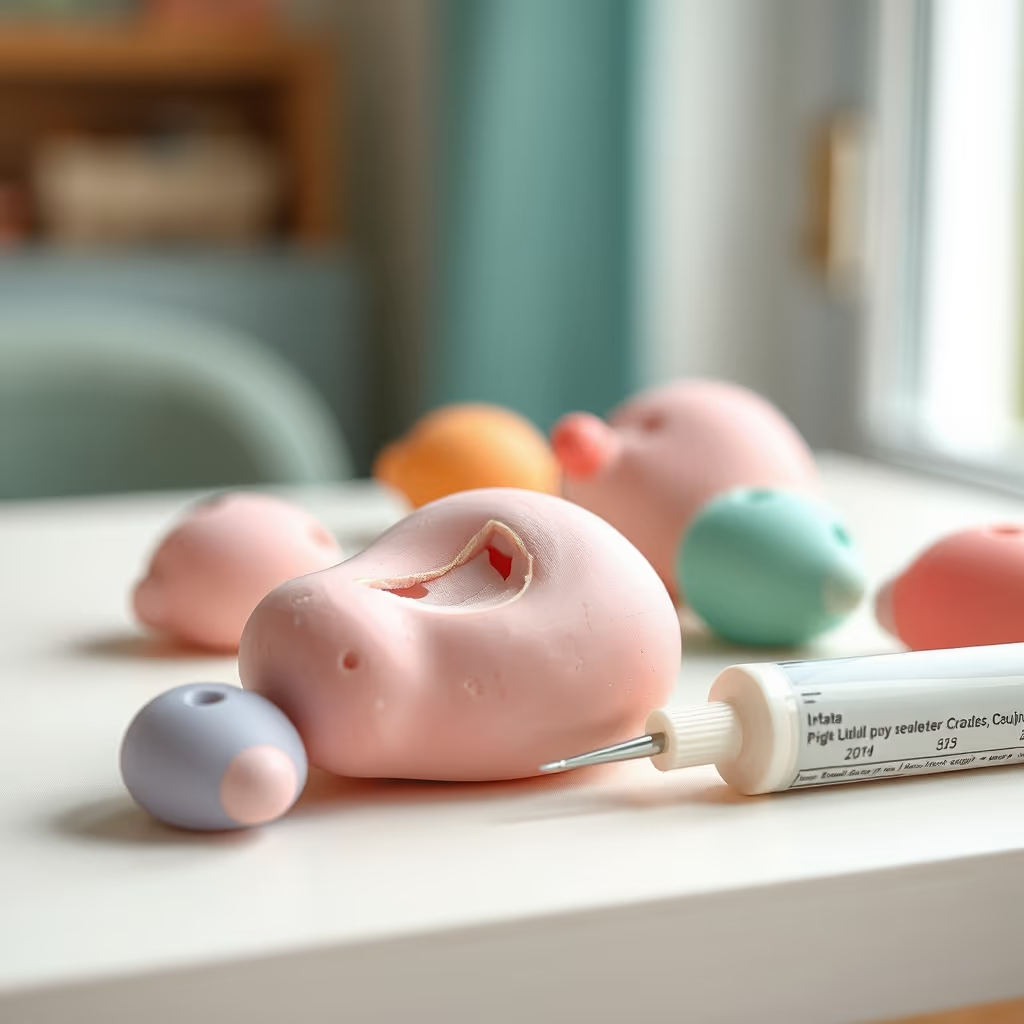
How to fix a torn or punctured squishy without losing the softness
Published on Updated on 4 min readSquishiesCompare AI models
Every well-loved squishy tears one day. The tip of an ear gives way, a cut opens along the side, a piece comes off — and the natural reaction is to squeeze more gently or retire the toy. No need: most damage can be repaired with white glue, patience and the right technique. This guide covers the four most common kinds of damage, from a scratch to a lost piece.
First things first: which glue to use (and which never to use)
- Use white glue (PVA): it dries flexible, is non-toxic and moves with the foam. It's the same glue as in our painting recipe, and that's no coincidence.
- Never use instant glue (cyanoacrylate): it dries rock hard. The patch becomes a rigid lump that doesn't sink with the rest of the squishy and, worse, creates a tensioned edge that tears again right next to the repair.
- No hot glue either: it melts thin foams and forms a rigid block.
On children's squishies, repairs are an adult's job — the precautions in our safety guide apply here too.
Repair 1 — Surface tear (the open "crust")
That shallow cut that only opened the paint layer and the top of the foam.
- Clean the area with a dry cloth; there must be no loose crumbs inside the tear.
- With a toothpick, apply a thin bead of white glue inside the cut.
- Close it by pressing the edges together for 1 minute.
- Remove any glue that squeezed out with the toothpick, before it dries.
- Let it dry for 4 hours without squeezing; touch up the paint on top if needed.
Repair 2 — Deep tear or nearly detached part
When the cut goes through much of the piece (the classic ear hanging by a thread of foam).
- Open the tear carefully and spread white glue on both inner faces with the toothpick, in a thin layer. Too much glue soaks in and stiffens the area.
- Bring the parts together, aligning them by the outer paint — it's your positioning guide.
- Hold it without crushing: a loose rubber band or a piece of string gives just the right pressure. Clothespins squeeze too hard and leave marks.
- Let it dry 12 hours held and another 12 free, without squeezing.
- Test with a gentle squeeze. If the repair line puckers, apply a thin coat of diluted glue (2 parts glue : 1 part water) over the joint, like a sealant.
Repair 3 — A piece that got lost
Lost the little tip? You have two ways out:
- Graft: cut a piece of similar foam in the shape of the missing part, glue it as in repair 2, let it dry and trim the excess with scissors before repainting. Ideally use offcuts of the same foam — a good reason to keep scraps from your basic recipe projects.
- Redesign: when the missing bit is small, it's sometimes easier to reshape the piece. A donut that lost a chip becomes a bitten donut — trim, round off the "bite", repaint and no one will ever say it was an accident.
Repair 4 — Worn or peeling paint
Heavy use wears paint down even without a tear.
- Gently sand only the peeling area with fine sandpaper, just enough to remove the loose flakes.
- Repaint with the flexible mix (2 parts paint, 1 part white glue, 1 part water) in thin coats.
- Seal with diluted glue and allow 24 hours to cure.
The full walkthrough of colors and sealing is in the painting and finishing guide.
When a repair isn't worth it
Signs of an honorable retirement:
- The foam crumbles at a touch: it has dried out and no repair will hold.
- Internal mold (dark spots and a musty smell): for safety, discard it — and see how to clean and store squishies so history doesn't repeat itself.
- More patch than squishy: a piece stiff with so much glue loses exactly what made it fun to squeeze.
A retired squishy can become shelf decor or a foam donor for future grafts. Nothing goes to waste.
Prevention: the 1-minute check-up
Once a month, squeeze the piece slowly while watching the thin areas. A tear caught early is a 5-minute repair; a tear ignored becomes a graft job. And avoid the bad habits that speed up wear — the list is in common squishy-making mistakes.
---
Want to learn to make squishies that are born tougher? The ebook Homemade Squishy, in production, covers structural reinforcement from the cutting stage on — thin areas, angles and minimum thicknesses. Subscribe to the blog to follow the guide through to launch.
Frequently asked questions
What glue should I use to fix a squishy toy?
Use white glue (PVA) because it dries flexible and moves with the foam. Never use instant glue or hot glue, as they dry hard and can cause further tearing or damage.
How do I fix a deep tear in a squishy?
Apply a thin layer of white glue to both inner faces of the tear, align the parts, and hold them together with light pressure like a rubber band. Let it dry for 24 hours without squeezing to ensure a flexible repair.
Can I repair a squishy if a piece is completely lost?
Yes, you can either graft a new piece of similar foam and glue it in place, or redesign the squishy by reshaping and repainting it to hide the missing part, turning the damage into a new look.