
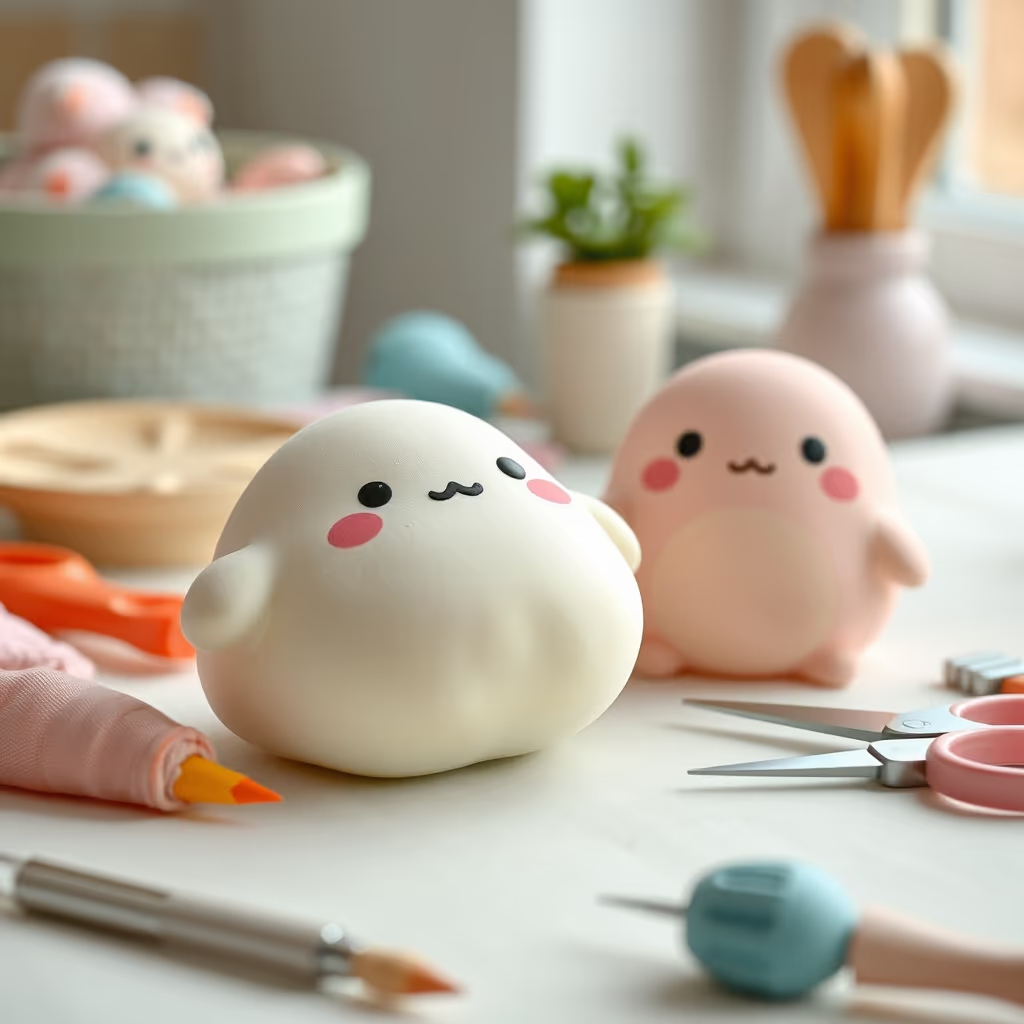
Common mistakes when making squishies at home
Published on Updated on 5 min readSquishiesCompare AI models
Almost every homemade squishy that goes wrong dies from one of these nine causes. The good news: all of them are avoidable, and most are fixable even after the damage is done. This article works as a quick reference — if something went wrong in your project, look up the symptom here and apply the fix.
Mistake 1 — Choosing the wrong foam
Symptom: the squishy is hard, doesn't sink in properly or crumbles when cut.
Styrofoam, packaging foam and sponges with an abrasive side won't work. The right foam is soft, open-cell, and springs back when squeezed — pillow foam, mattress foam or a soft bath sponge. Before cutting anything, do the thumb test: press deep; if it sinks easily and comes back without crumbling, it's approved. The full materials list is in the basic recipe.
Fix: there's no fixing the wrong foam; swap the material. Keep the rigid foam for making test templates.
Mistake 2 — Starting with an ambitious shape
Symptom: torn ears, crooked points, discouragement.
A first-timer's unicorn is a recipe for frustration. Thin parts tear during cutting, complicate the painting and are the first to break in use. Start with a bread roll, a cube, a ball — our list of beginner shapes is in order of difficulty for exactly this reason.
Fix: amputate the troublesome thin part and reshape the piece into something simpler. A rabbit without ears is a little ball with a face — and little balls with faces are great.
Mistake 3 — Cutting inside the line
Symptom: the piece ends up smaller and skinnier than planned.
Cut foam doesn't come back. Cutting on or inside the traced line costs you the refining margin.
Preventive fix: always cut 5 mm outside the line and refine in small slivers. If the piece already came out small, embrace the "mini squishy" — or glue on extra foam with the graft technique from the repair guide.
Mistake 4 — Painting with straight acrylic paint
Symptom: the paint cracks or peels within the first weeks of squeezing.
Straight paint dries into a rigid shell over a base that bends. It's the most common mistake of all.
Fix: the flexible mix is 2 parts paint, 1 part white glue, 1 part water. Where it's already cracked: lightly sand the spot, repaint with the mix and seal. The complete process is in the painting and finishing guide.
Mistake 5 — A thick coat to "speed things up"
Symptom: wrinkled surface, sticky for days, deep cracks later.
A thick coat dries on the outside and stays damp inside. The outer film hardens, the inner one keeps moving, and the paint job implodes.
Fix: there's no substitute for patience — two or three thin coats with complete drying in between. If the piece has been sticky for days, leave it in a dry, airy spot for 48 hours before deciding whether to repaint.
Mistake 6 — Squeezing before the 24-hour cure
Symptom: permanent fingerprints in the paint, cracks the next day.
Dry to the touch isn't cured. The paint-and-glue mix reaches its final strength in about 24 hours.
Fix: if you already squeezed and left marks, wait for the cure to finish, gently sand the marks and do a fine touch-up. And agree on an official "waiting day" with the kids in the house — in the safety and kids' activities guide we suggest making the wait part of the fun.
Mistake 7 — Gluing with instant glue
Symptom: a hard lump in the middle of the soft squishy; new tears around the patch.
Cyanoacrylate dries rigid and creates a hard island that fights the flexible foam around it.
Fix: the lump won't come out; if it bothers you enough, cut out the area and graft in new foam with white glue, the only glue in the squishy kit.
Mistake 8 — Getting it wet (or washing it) the wrong way
Symptom: musty smell, dark spots, odd weight.
Soaked foam dries painfully slowly on the inside, and trapped moisture turns to mold — the end of the line for the piece.
Preventive fix: cleaning is always surface-level, with a damp cloth. If it got soaked by accident, press it (without wringing) between dry towels and leave it for days in a ventilated spot. The full protocol is in how to clean and store squishies.
Mistake 9 — Storing it in the sun or squashed
Symptom: faded colors, dried-out foam, a piece that lost its spring.
Sunlight degrades paint and polyurethane; constant weight deforms the foam permanently — including the slow recovery effect, as we explain in the article on slow rising.
Fix: store in the shade, with no weight piled on top. Fading can be touched up; dried-out foam, unfortunately, cannot.
The meta-mistake: giving up on the first piece
Your first squishy will have flaws — everyone's does. The difference between those who improve and those who quit is treating each flaw as a diagnosis, not a verdict. By the third piece, you won't recognize your own progress.
---
Want to make even fewer mistakes? The ebook Homemade Squishy — in production — is being structured with a troubleshooting section at the end of every chapter, in the style of this article. Subscribe to the blog to follow along until launch.
Frequently asked questions
Why does my homemade squishy crack when I squeeze it?
This usually happens because you painted it with straight acrylic paint, which dries into a hard shell over the flexible foam. To fix it, use a flexible mix of paint, white glue, and water. If it's already cracked, sand the area and repaint with the correct mixture.
What is the best foam to use for making squishies?
Avoid hard foams like Styrofoam or abrasive sponges. The right foam is soft, open-cell, and springs back, like pillow or mattress foam. Test it by pressing your thumb in deeply; if it sinks easily and returns without crumbling, it's suitable.
How do I fix a squishy that got wet and smells musty?
If the foam is soaked, moisture trapped inside can lead to mold. Press it gently between dry towels without wringing and let it air out in a ventilated spot for several days. For regular cleaning, only use a damp cloth on the surface.