
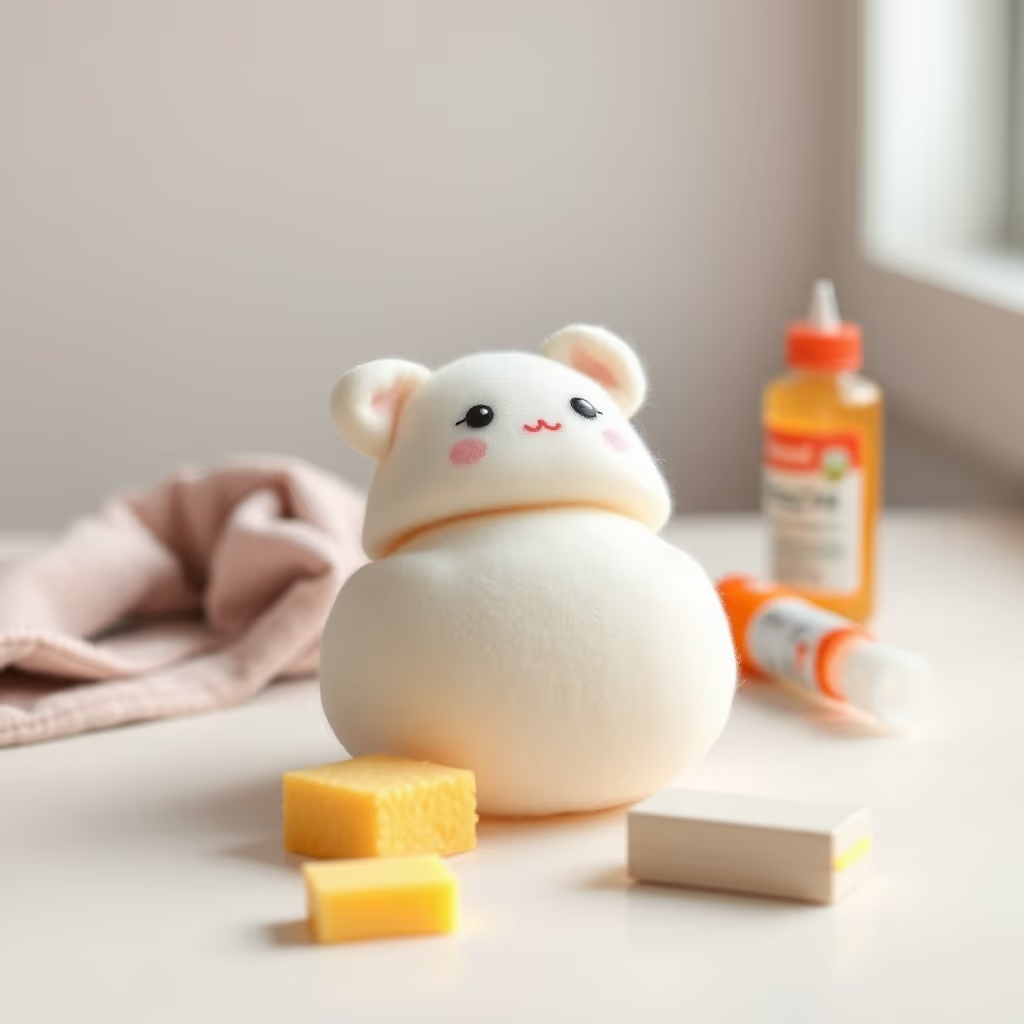
How to make a squishy without glue: 3 ways using what you have at home
Published on Updated on 4 min readSquishiesCompare AI models
Not everyone has white glue at home — and not every child can handle it. The good news: you can make fun squishies without a single drop of glue, using three different methods. Each one has its own result and difficulty level, so this article presents all three and lets you choose based on the materials you already have on hand.
Method 1 — Plain cut-out sponge (the fastest)
The most direct method: turning the sponge itself into the squishy, with no painting or gluing.
Materials:
- Soft bath sponge (no abrasive side) or a piece of pillow foam
- Blunt-tip scissors
- A pen for tracing
Step by step:
- Trace a simple, rounded shape on the sponge — the same beginner shapes from the foam recipe work here.
- Cut outside the line and refine in small slivers.
- Round off the edges by trimming at an angle, without rushing.
Honest limit: without paint, the squishy stays the color of the sponge and has no details. On the other hand, it's the only method on this list a child can do almost entirely alone, with blunt-tip scissors and supervision — check the age recommendations in our safety guide. If you later want to add color, the paint mix used in the basic recipe contains glue, so that's where the "no glue" part ends.
Method 2 — Stuffed sock (genuinely soft)
A sewable or knottable squishy with a cushion-like feel.
Materials:
- A clean sock in soft fabric (fluffy cotton socks are the best)
- Stuffing: fiberfill from an old pillow, finely chopped fabric scraps or cotton
- Needle and thread, or just a firm knot
- Fabric markers, if you want to draw a little face
Step by step:
- Fill the toe of the sock until it forms a ball of the size you want. Pack it with your hands: the fuller, the firmer; the less full, the "floppier".
- Twist the sock just above the stuffing and tie a firm knot, or sew the opening of the ball shut.
- Cut off the excess sock, leaving 2 cm past the knot.
- Draw eyes and a mouth with a fabric marker and let it dry as directed on the package (usually a few hours).
Honest limit: it doesn't spring back on its own like foam — you squeeze it and it slowly settles back into shape, more like a squeeze ball. For many people that texture is exactly the most relaxing kind; we talk about it in our article on squishies for stress relief.
Method 3 — Flour balloon (the classic squeeze ball)
Technically a "stress ball", a close cousin of the squishy — and the favorite method for anyone who wants a result in ten minutes.
Materials:
- 2 party balloons (one inside the other, for reinforcement)
- All-purpose flour or cornstarch (about half a cup)
- A funnel or a cut plastic bottle
- Scissors
Step by step:
- Stretch the first balloon well by inflating it and then letting the air out — this makes filling easier.
- Using the funnel, pour in the flour a little at a time, pushing it down with a pencil when it clogs.
- Squeeze out all the air, tie a knot right against the flour and trim the excess.
- Cut the neck off the second balloon and slip it over the first, with the opening covering the knot. This double layer prevents holes and leaks.
Honest limit: if it gets punctured, powder comes out — so don't use it near water and don't give it to children who still put everything in their mouths. Always use the double layer and throw the ball away at the first sign of cracking in the latex. Also watch out for latex allergy.
Which method should you choose?
- I want something quick and safe for a small child: cut-out sponge.
- I want the cutest and most durable: stuffed sock.
- I want something to squeeze non-stop today: flour balloon.
Tip: the three methods combine well. A balloon ball inside a sock, for example, creates a texture that's firm inside and soft outside.
Precautions common to all three
- Use clean, dry materials; moisture inside a sock or balloon breeds mold.
- Don't use stuffing that crumbles over time (shredded paper, for example).
- No-glue squishies tear too — and some of the repairs work for them as well, as we show in how to fix a torn squishy.
---
Enjoyed improvising? In the ebook Homemade Squishy, which is in production, each of these techniques gets variations and tables of alternative materials. Subscribe to the blog to follow the guide's development and hear the moment it's ready.
Frequently asked questions
Can a child make a squishy without any glue?
Yes, a child can make a squishy without glue using the plain cut-out sponge method. With blunt-tip scissors and supervision, they can trace and cut a shape from a soft bath sponge. This is the only method on the list a child can do almost entirely alone.
How do I make a soft squishy from a sock?
To make a soft squishy, fill the toe of a clean, soft sock with stuffing like fiberfill or cotton. Then, twist the sock above the stuffing and tie a firm knot or sew it shut. You can draw a face with fabric markers for decoration.
What's a quick way to make a squishy at home?
The fastest method is to cut a shape from a soft sponge. For a classic squeeze ball you can make in minutes, use the flour balloon method by filling a balloon with flour and covering it with a second balloon for reinforcement.