
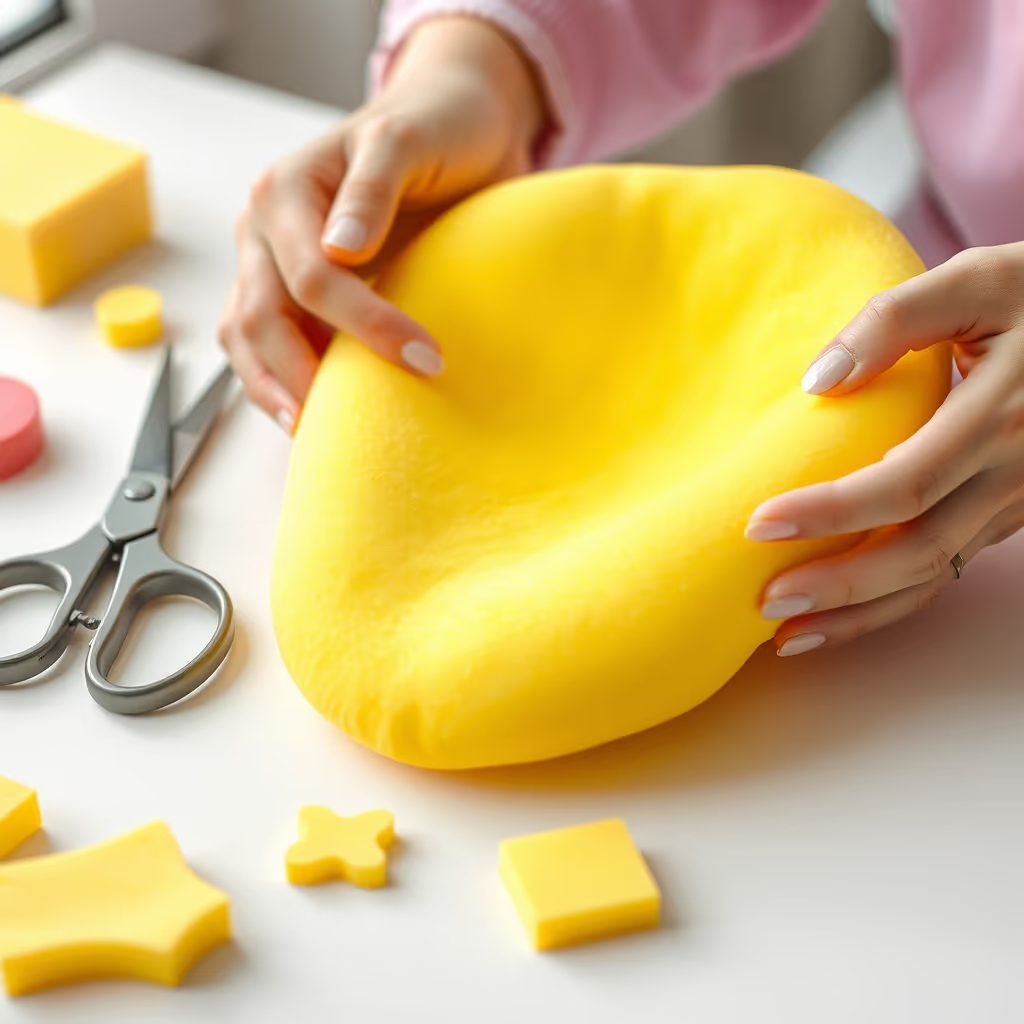
How to make a foam squishy at home: the basic step-by-step recipe
Published on Updated on 4 min readSquishiesCompare AI models
Making a squishy at home is simpler than it looks: with some soft foam, scissors, paint and a little patience for the drying stages, you can put your first one together in an afternoon. This is the base recipe we use as the starting point for every other project on the blog — master this one and everything else becomes a variation.
Materials you will need
- Soft, high-density foam: the best household option is mattress foam or a foam pillow (the yellow or white kind that springs back slowly when squeezed). A soft bath sponge also works for small pieces.
- Sharp scissors or a craft knife (craft knives are for adults only — see our safety guide).
- A pen or pencil to trace the template.
- Acrylic paint or fabric paint in the colors of your project.
- Non-toxic white glue (PVA) for thinning the paint and for gluing.
- A soft brush and a cup of water.
- Optional: fine sandpaper (180 to 220 grit) for rounding off corners.
Avoid rigid packaging foams (styrofoam won't work) and sponges with an abrasive side. The slower the foam springs back when you squeeze it, the better the final feel.
Step 1 — Draw and cut the shape (15 minutes)
Start with a simple, "chubby" shape: a bread roll, a drop, a cloud or a cube. Shapes with thin parts — ears, handles, points — tear easily and are frustrating for a first project. If you want ideas, we have a list of easy shapes for beginners.
- Trace the outline on the foam with a pen.
- Cut outside the line, leaving about 5 mm of margin.
- Then refine the cut little by little, removing small slivers. It's much easier to take foam off than to put it back.
Step 2 — Shape and round it off (15 to 30 minutes)
With the silhouette done, round off the edges by cutting shallow slivers at an angle, as if trimming. For a smoother finish, go over it with fine sandpaper in gentle circular motions — the foam sheds crumbs, so do this over newspaper and away from your face.
Squeeze the piece now and then while shaping: it's the real test of how the squishy will behave. If any area ended up too dense, thin it out a little.
Step 3 — Prepare the paint (5 minutes)
Straight acrylic paint tends to form a hard shell that cracks when the squishy is squeezed. The mix that works well on foam is:
- 2 parts acrylic paint
- 1 part white glue
- 1 part water
The glue gives the paint layer elasticity, and the water helps it soak into the foam instead of just coating the surface. Mix well until smooth, with no lumps.
Step 4 — Paint in thin coats (this is the secret)
Paint a thin first coat covering everything, and let it dry completely — 1 to 2 hours on a dry day; up to 4 on a humid one. Then apply the second coat. Two or three thin coats turn out far better than one thick coat, which dries on the outside, stays damp inside and cracks later.
Golden rule: if the surface still feels sticky or cool when you touch it with a finger, it isn't dry. Wait longer.
Details like eyes, cheeks and outlines go on last, with less-diluted paint and a fine brush. For color techniques, gradients and a flexible seal, the full walkthrough is in painting and finishing squishies.
Step 5 — Final cure (24 hours)
Even if it feels dry to the touch, let the squishy rest for 24 hours before squeezing it properly. The paint finishes curing on the inside during this period; squeezing early is the number one cause of premature cracks — and one of the most common beginner mistakes.
Test and adjust
After the cure, squeeze slowly and observe:
- Did the paint crack? The coat was too thick or had too little glue in the mix. You can lightly sand the spot and repaint with the correct recipe.
- Doesn't the foam spring back well? Low-quality foam, or foam compressed too much during cutting. Note it down for next time — every foam behaves differently.
- Did a tip tear? Reinforce it with white glue and see our guide to fixing a torn squishy.
No one's first squishy comes out perfect, and that's fine: piece number three is usually so much better than number one it's unrecognizable.
Timing summary
- Cutting and shaping: 30 to 45 minutes
- Painting: 2 to 3 coats, with 1 to 4 hours of drying between them
- Final cure: 24 hours
Plan it as a weekend project: shape and paint on Saturday, play on Sunday.
---
Want to go beyond the basic recipe? We're preparing the ebook Homemade Squishy, a complete guide that organizes all the blog's techniques into chapters, from cutting to a professional finish. It's still in production — subscribe to the blog to follow along and find out when it's ready.
Frequently asked questions
What kind of foam is best for making a squishy at home?
Use soft, high-density foam like mattress foam or a foam pillow that springs back slowly when squeezed. Avoid rigid foams like styrofoam and sponges with an abrasive side, as they won't give the right feel.
How do you paint a foam squishy so it doesn't crack?
Mix acrylic paint with white glue and water to create an elastic paint layer. Apply several thin coats, letting each dry completely before adding the next, as a single thick coat will crack when the squishy is squeezed.
Why does my homemade squishy crack after I paint it?
Cracking usually happens if the paint is applied too thickly or if the squishy is squeezed before the paint has fully cured. Always let the painted squishy rest for 24 hours after the final coat to allow the paint to cure completely inside.