
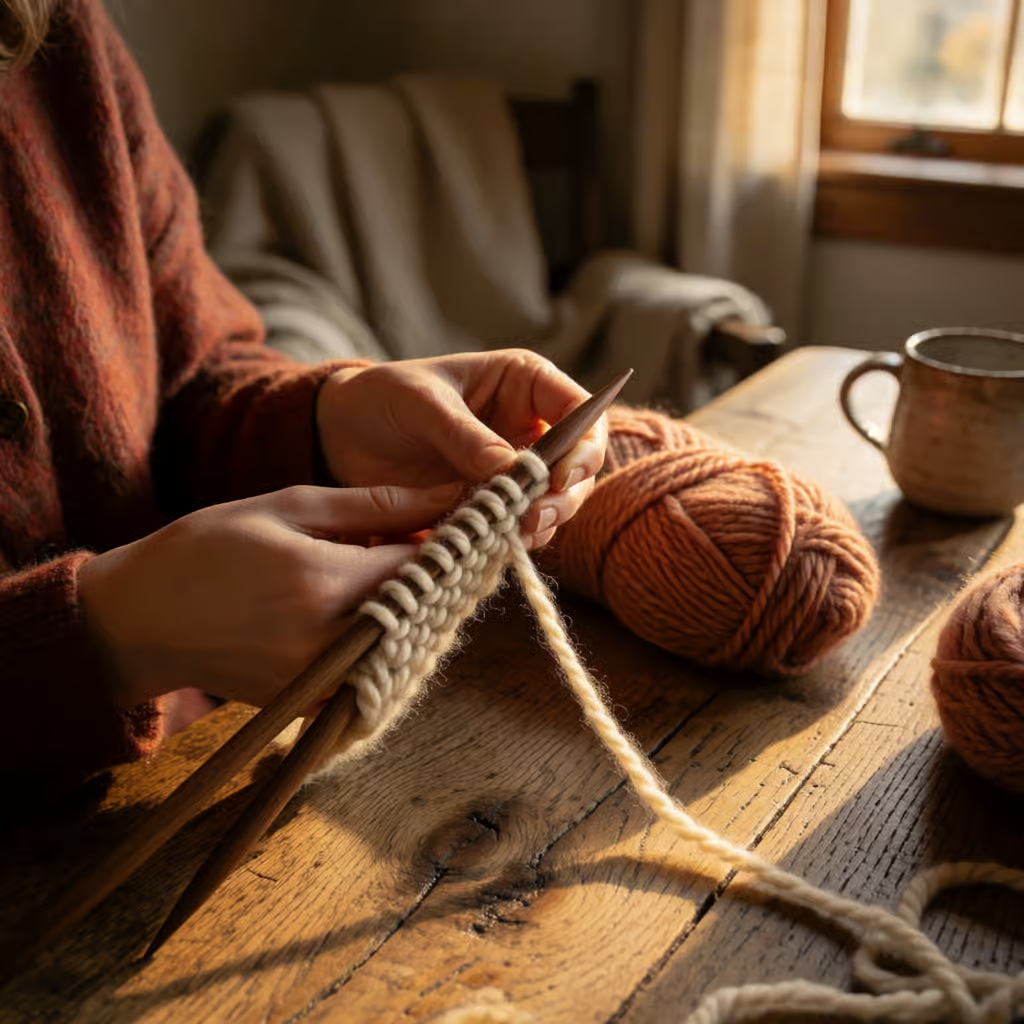
What's the First Practical Step to Turn Yarn into Simple Crochet
Published on 10 min readCrochetCompare AI models
The first practical step to turn yarn into simple crochet is learning the chain stitch. You can get comfortable with the basic motion in about a day of focused practice. The real trick is learning to keep a consistent tension—not too tight, not too loose—so your foundation is even. Once your chain is uniform, you're ready to build actual fabric on top of it.
What is the chain stitch and why is it the first step?
A chain stitch is a series of linked loops created with a crochet hook. It's the fundamental first step because every other crochet stitch, from a single crochet to more complex shells, is anchored into this initial row. You can't build a wall without a foundation, and you can't crochet a project without a chain. I think of it as learning to draw a straight line before you sketch a picture. My own first real project was just a long chain I wrapped around a coffee mug as a simple decoration; it was satisfying to see a tangible result from that basic skill. To go deeper on this point, see Crochet: More Than a Hobby, a Relaxing Art.

It’s a calming, screen-free activity that only requires two things: yarn and a hook. A simple first project is making a chain long enough to decorate a bag handle or tie around a planter.
How to choose yarn and a crochet hook for the chain stitch?
Yarn is the continuous strand of fiber you crochet with, and a crochet hook is the tapered tool with a notch (or hook) at one end used to pull loops through. For a beginner, your choice here makes a huge difference. I strongly recommend starting with a bulky-weight yarn and a large hook, like an 8mm or 9mm. The thickness makes each loop large and easy to see, so you can clearly understand how the stitch is formed. Using a thin yarn and a small hook from the start is a common mistake that leads to frustration because you can't see what you're doing.
My personal preference is a size 5 chunky cotton yarn and an 8mm ergonomic hook. The yarn has enough grip that it doesn't slip too easily, and the ergonomic handle is easier on your hands during long practice sessions. You don't need to invest much; a single 100-gram ball of this yarn gives you plenty of material to practice with. Opt for a light, solid color—avoid dark navy or black at first—as it makes seeing each individual loop much simpler.
How to make the chain stitch step by step?
Let's break down the physical motions. The entire stitch is a repetition of two main actions: a yarn over and a pull-through.
- Form the Slip Knot: This is how you attach the yarn to the hook. Make a loop with the yarn tail, insert your hook, and pull a second loop through the first to create a slip knot that sits on your hook. A common pitfall is pulling this knot too tight. It should be snug but still able to slide on the hook shaft.
- Yarn Over (abbreviated as YO): This is the fundamental action of crochet. With the slip knot on your hook, pass the working yarn (the yarn coming from the ball) in front of the hook from back to front, catching it with the hook's notch. Think of it as scooping the yarn.
- Pull Through: Now, pull that captured yarn through the loop that's already on your hook. This single motion creates one complete chain stitch. You'll now have one loop remaining on your hook, ready for the next stitch. The tension here is critical—pull gently and consistently.
- Repeat: Continue the yarn over and pull-through sequence. Each repetition adds one more chain stitch. Count aloud as you go: "one, two, three..." This helps you maintain a rhythm and track your length. Aim for a chain of 20 stitches as your first goal.

Your first few chains will likely look uneven—that's completely normal. The goal of the first day isn't perfection, but building the muscle memory so your hands learn the motion. Try making a 10-stitch chain, then unravel it and make another. This repetition is more useful than making one very long, inconsistent chain.
What are the common mistakes when making the chain stitch?
Everyone makes these errors when starting. Recognizing them is half the battle.
- Too-Tight Tension: This is the most frequent issue. If your chain looks skinny, feels stiff, and your hook struggles to move through the loops, you're pulling the yarn too tightly. The chain should have a soft, pliable curve. The fix is to consciously relax your grip on the yarn in your non-dominant hand. Let the yarn slide smoothly through your fingers instead of clamping down on it.
- Too-Loose Tension: Here, the chain looks loopy and full of gaps, lacking any real structure. It may twist and curl uncontrollably. This happens when you pull the yarn through with too much slack. The correction is to maintain a slight, consistent tension on the working yarn as you pull it through the loop. Your hook should do the work, not a forceful yank.
- Inconsistent Stitch Size: Your chain has some tight stitches and some loose ones. This usually means your hand position or grip pressure is changing with each stitch. Focus on making the yarn-over and pull-through motions identical every single time. Practice slowly and deliberately.
In my experience, the biggest progress killer is inconsistent practice. I once skipped a few days after my first session, and when I returned, my tension was all over the place again. Fifteen minutes of practice daily is far more effective than a two-hour session once a week. If your chain looks like a twisted rope, your tension is too tight. If it looks like a limp string of spaghetti, it's too loose.
How do you hold the yarn and hook correctly?
There's no single "right" way, but there are efficient methods. How you hold the yarn in your non-dominant hand (the yarn hand) controls tension. I use a method where the yarn passes over my index finger, under my middle finger, and over my ring finger. This creates gentle friction I can control by raising or lowering my index finger. For the hook in your dominant hand, hold it like a pencil or a knife—whichever feels more natural and allows you to pivot the hook easily. The key is comfort and control, not rigid adherence to a specific style. A common beginner error is clutching both the hook and yarn in a death grip, which leads to hand fatigue and tight stitches. Your hands should feel relaxed.
What are the alternatives to the chain stitch as a base?
While the chain stitch is the universal foundation, there are alternative starting methods. The main one is the foundation single crochet, where you create the chain and the first row of stitches simultaneously. Here’s a comparison for a beginner's perspective:
| Criterion | Chain Stitch | Foundation Single Crochet |
|---|---|---|
| Learning Curve | Low. The motion is simple and repetitive. | Medium. You're learning two steps at once, which can be confusing initially. |
| Primary Use | The base for nearly all crochet patterns and other stitches. | A starting row that can be more elastic; used in specific garment patterns. |
| Beginner Friendliness | High. It lets you master the core yarn-over motion in isolation. | Lower. It's better tackled after you're comfortable with the basic single crochet stitch. |
| Resulting Edge | Can be tight if not made with care. | Often creates a more flexible, even starting edge. |
For your absolute first step, the traditional chain stitch is the better choice. It breaks the learning process into manageable stages. Once you can make a consistent chain, you then learn how to insert your hook into it—another discrete skill. Trying to learn a foundation stitch too early often muddles these two separate actions.
What to do after mastering the chain stitch?
Your logical next step is to learn the single crochet stitch. This is the simplest stitch that creates solid fabric. You'll work it by inserting your hook into the chains you made, doing a yarn over, and pulling up a loop—building directly on your foundation. This is where your chain practice pays off; if your chains are even, your first row of single crochet will be too.
A perfect first project is a basic coaster or a small rectangular swatch. Make a chain of 15 stitches, then work a single crochet into the second chain from the hook and into each chain across. You'll turn your foundation chain into a small piece of fabric. Using that light-colored, bulky yarn here is still ideal because you can clearly see where to insert your hook. This small square teaches you how to turn your work and start a second row, which is the gateway to making anything larger.
How to check if your chain stitch is ready for simple crochet stitches?
Before you move on to that first single crochet row, give your chain a quick audit. This saves the heartache of working several rows only to find a wobbly foundation.
The Visual Check: Lay your chain flat on a table. Don't stretch it out. Look at it closely. All the "V" shapes that make up the stitches should look similar in size. If some are tiny knots and others are large holes, your tension is inconsistent. A chain that twists aggressively into a spiral is usually too tight.
The Tension Test: Gently hold both ends of the chain and give it a very slight tug. It should have a little give but spring back. If it doesn't stretch at all, it's too tight and will make the next row difficult to work into. If it stretches out and doesn't bounce back, it's too loose and will create a floppy, unstable base.
The Feel Test: Run your fingers along the chain. It should feel uniformly bumpy, like a small braid. You shouldn't feel sudden tight spots or gaps. If it feels even, you're ready. Doing these checks becomes a habit that ensures every project starts on solid ground.
Pick up your hook, make a slip knot, and practice that yarn-over and pull-through rhythm until it feels less foreign. Your hands will learn.
*This content is for informational purposes and is not a substitute for professional instruction.*
See also
Frequently asked questions
How long does it take to make a chain stitch strip with 50 loops?
It takes about 10 minutes for a beginner. You need to practice to reduce the time. This time varies according to speed.
What's the best thread to make a chain stitch strip for decoration?
Thick cotton thread is the best. It's easy to work with. It has a nice appearance.
Can I make chain stitch with a small crochet hook?
Yes, but it's harder for beginners. You need more practice. It's better to start with a large hook.