
Getting Started with Crochet
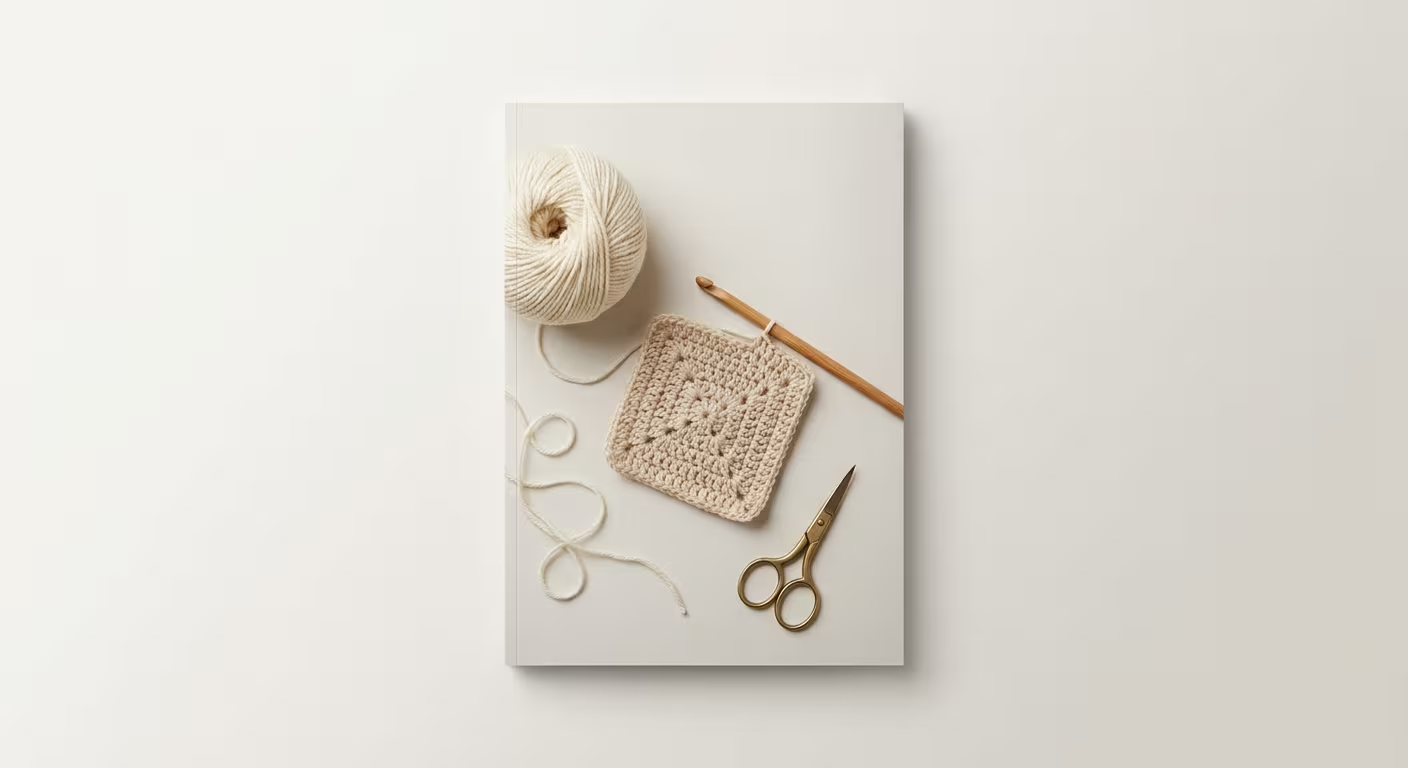
Crochet uses a single hook to create fabric from interlocking yarn loops. To begin, grab a 5mm crochet hook (labeled H/8 in the US), #4 worsted weight yarn in a light color, and scissors. You'll master three fundamental stitches first - chain stitch, single crochet, and double crochet - which form the foundation for most beginner projects like dishcloths or scarves. These first projects often take just a week to complete.
I suggest starting with inexpensive acrylic yarn from craft stores; its slight roughness helps stitches maintain their shape while you're learning. Dark colors and fuzzy textures make it harder to see your stitches, so save those for later. Don't worry if your early stitches look uneven - your tension will improve faster than you think.
Who Should Try Crochet?
This craft particularly suits people who:
- Want immediate results from a new hobby (unlike learning instruments or languages)
- Need portable activities for commutes or waiting rooms
- Enjoy repetitive motions that don't require constant decision-making
If you've struggled with knitting's dropped stitches or tangled needles, crochet's single-hook approach often feels more manageable. Left-handed crafters can crochet too - simply mirror right-handed instructions rather than fighting awkward tutorial adaptations.
Essential Crochet Materials
Crochet requires surprisingly few supplies to begin:
- Yarn: #4 worsted weight provides good visibility. Cotton (like Sugar'n Cream) works well for dishcloths, while acrylic (like Red Heart Super Saver) offers more stretch for practice
- Hooks: A single 5mm aluminum hook with a rubber grip prevents hand fatigue better than cheap plastic sets
- Extras: Bent-tip yarn needles simplify weaving in ends, and removable stitch markers (or paperclips) help track your place
Skip specialty tools like yarn bowls and row counters initially. Store works-in-progress in gallon ziplock bags to protect them from pets or curious little hands.
Learning the Basic Stitches
Chain Stitch (ch)
The foundation of all crochet projects. Practice by:
- Creating a slip knot (leave a 6" tail)
- Holding the hook like a pencil with yarn in your non-dominant hand
- Wrapping yarn counter-clockwise (yarn over), then pulling through the loop
Most beginners make chains too tight. They should move smoothly along the hook - if stuck, try a larger hook just for your starting chain.
Single Crochet (sc)
Creates dense fabric ideal for items like pot holders:
- Insert hook under both loops of the second chain
- Yarn over, pull up a loop (2 loops now on hook)
- Yarn over again, pull through both loops
New crocheters often miss the last stitch because the turning chain looks different. Mark it with a contrasting yarn scrap until you recognize it.
Double Crochet (dc)
Taller stitch that works up projects faster:
- Yarn over, insert hook in next stitch
- Yarn over, pull up loop (3 loops on hook)
- Yarn over, pull through 2 loops
- Yarn over, pull through remaining 2 loops
If your work suddenly narrows, you probably forgot the final yarn over in step 4.
Reading Crochet Patterns
Patterns use abbreviations to save space. Key symbols to know:
| Symbol | Meaning | Practical Use |
|---|---|---|
| * | Repeat section | Avoids rewriting long instructions |
| [ ] | Stitch group | For complex combinations |
| ( ) | Stitch count | Verifies you're on track |
Always check the pattern's abbreviation key - UK patterns sometimes use 'sc' for slip stitch. When confused by written instructions, search for row-by-row YouTube tutorials of the same pattern.
First Simple Projects
Practice Swatch
Create a 6" square alternating sc and dc rows:
- Chain 22 (counts as 20 stitches plus 2 turning chain)
- Row 1: Single crochet in 2nd chain, sc across (20 stitches)
- Row 2: Chain 2 (counts as dc), dc in each stitch
- Repeat rows 1-2 until square reaches 6"
This teaches turning chains - those small gaps at row ends that maintain height. Uneven edges often smooth out with blocking (lightly stretching and pinning the fabric).
Cotton Dishcloth
A forgiving first project where imperfections add texture:
- Chain 30
- Rows 1-20: Single crochet in each stitch, chain 1, turn
- Weave in ends using the 6" starting tail
Choose cotton yarn (like Lily Sugar'n Cream) because synthetic fibers don't absorb water well. The textured surface from tight single crochet rows actually improves the cloth's exfoliating quality.
Troubleshooting Common Issues
- Curling edges: Normal in small pieces - either wet block or add a border later
- Gaps at joins: Use an invisible stitch instead of slip stitches to connect rounds
- Split yarn: Switch to sharper hooks like Clover Amour instead of blunt-ended ones
When frustrated, apply the 'three tries' rule: Attempt a difficult step three times, then set it aside if still stuck. You'll often spot errors after a short break that you'd otherwise repeat endlessly.
Even experienced crocheters frequently 'frog' their work (ripping out stitches - named for the 'ribbit' sound). Keep your early attempts as progress markers; my first scarf could stand upright from how tight the stitches were.
Next Steps
After mastering these basics, consider:
- Granny squares: Colorful motifs that teach yarn changes
- Amigurumi: Stuffed animals worked in continuous rounds
- Local yarn shops: Many offer free guidance if you purchase supplies there
Short, daily 10-minute practice sessions build muscle memory better than occasional marathon crochet sessions.
*Crochet methods vary between individuals. For personalized advice on tension and stitch consistency, consult experienced crocheters in person or through crafting communities.*