
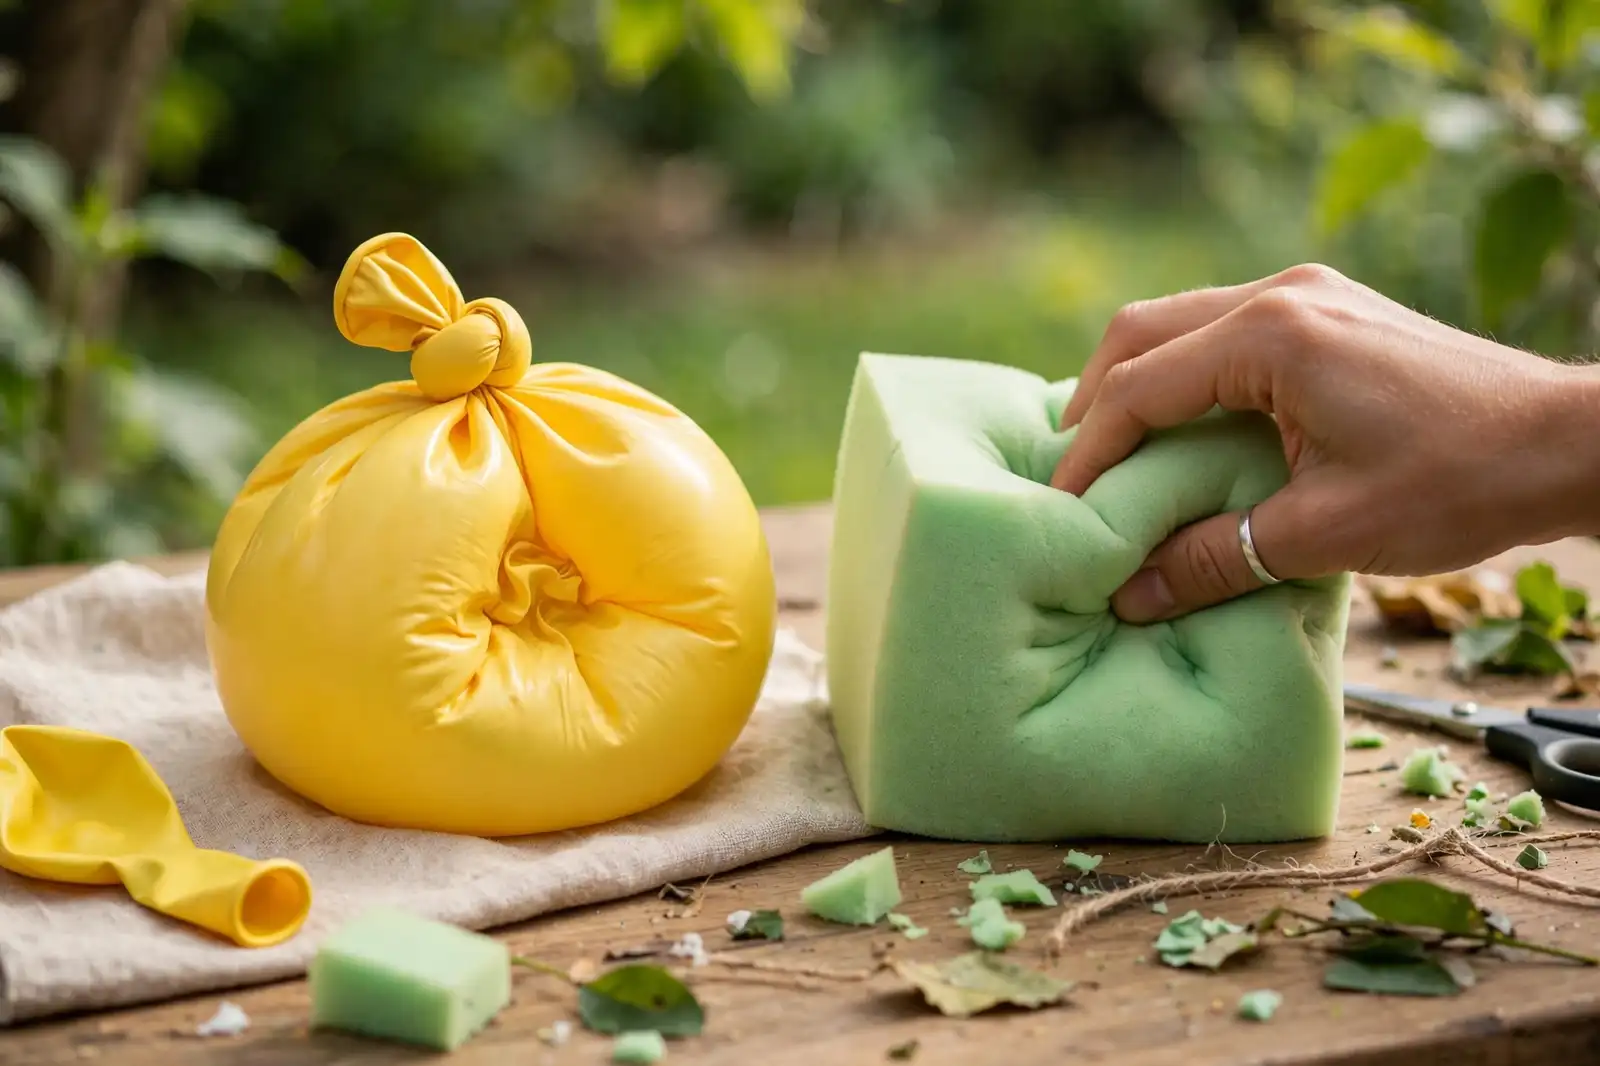
Balloon Squishy vs Foam Squishy: Which Should You Make First?
Published on 8 min readSquishiesCompare AI models
Make a balloon squishy first. It's the clear winner for beginners because it dries in 24 to 48 hours with just household white glue and cornstarch, is completely non-toxic, and costs almost nothing to make. A foam squishy feels more like a store-bought toy but requires specific materials, safety gear, and a similar wait time, making it a bigger initial investment. If you're testing the waters of this craft, the balloon version is nearly foolproof and lets you figure out if you enjoy the process without any real risk.
How Is a Balloon Squishy Made?
A balloon squishy is made by mixing white glue and cornstarch into a pliable dough, stuffing it into a regular balloon, and letting it cure. The technique is simple: you create a lightweight, slow-rising toy where the balloon itself acts as the final, smooth shell. The real magic happens during the drying phase, as the mixture firms up just enough to hold its shape while the air pocket inside allows for that satisfying, slow return.

The biggest advantage is you need zero special tools. A bowl, a spoon, a balloon, and the two ingredients are it. You're essentially creating the filling; the balloon does the rest of the work by forming the perfect outer skin. I prefer using clear or light-colored balloons because you can see the dough inside, which helps you judge the fill level.
Drying takes a full day or two, but you can speed it up slightly by placing it in a well-ventilated area. A common tip is to hang it near a window—just keep it out of direct sunlight, which can overheat and crack the rubber. The error I see most often is impatience. Poking or squeezing it before it's fully cured will leave permanent dents.
In practice, the most common substantive error is overfilling. People think more dough equals a better squish, but it has the opposite effect. The balloon gets hard and loses its signature bounce. You only need enough dough to fill one-third to half of the balloon; the remaining air pocket is what creates the softness and the slow rise. If your finished squishy feels too firm, you've likely used too much mixture.
How Is a Foam Squishy Made?
A foam squishy uses liquid polyurethane foam, typically from a spray can meant for insulation or sealing gaps. You pour a small amount into a silicone mold, let it expand and cure completely, then demold and paint it. The result is a firmer, more detailed, and professional-looking squishy that closely mimics commercial toys.

The material difference is significant and dictates the entire process. Polyurethane foam costs $5 to $10 for a small can and is toxic before it fully cures. The fumes are irritating, and the liquid foam sticks tenaciously to skin and surfaces. You'll need nitrile gloves, a proper respirator mask (not just a dust mask), and excellent ventilation—an open garage or outdoor workspace is ideal.
The mold is another investment. While you can repurpose a simple kitchen silicone mold, dedicated squishy molds with intricate designs cost $5 to $15. Painting is not an optional final step; without it, the squishy just looks like a piece of raw, beige foam. Acrylic paints work best, and they add another hour or two to the project for application and drying.
What's the Texture Difference Between the Two?
The texture is where these two crafts truly diverge, and it's the main reason you'd choose one over the other.
| Feature | Balloon Squishy | Foam Squishy |
|---|---|---|
| Softness | Very soft, almost hollow feeling | Firm, but gives under pressure like memory foam |
| Slow rising | Returns slowly (5–10 seconds) | Returns quickly (2–3 seconds) |
| Touch feel | Rubber-like, smooth surface | Porous, spongy surface |
| Durability | Punctures easily if squeezed with nails | Holds up to strong squeezing and manipulation |
The balloon squishy is more satisfying for that endless, slow, therapeutic squeeze. It has a unique hollow give that's hard to replicate. The foam version is more durable and looks polished, like something you'd buy. If you want a toy that lasts through rough play or has intricate details, go with foam. If you want the classic, slow-rising sensory experience, stick with the balloon.
How Long Does Each Take to Make?
Active time versus curing time is key here. A balloon squishy takes about 10 minutes of active work to mix the dough and stuff the balloon. The real wait is the 24 to 48-hour drying period, where it needs to hang undisturbed to avoid dents. You can't rush this part; the glue needs time to fully set.
A foam squishy also takes about 10 active minutes to pour. The foam itself cures and becomes solid in 12 to 24 hours. After that, you add another 2 to 4 hours for painting and letting the paint dry. So the total timeline is roughly a day and a half, similar to the balloon, but with more steps interspersed.
For families, the balloon project fits infinitely better into an afternoon. You can make the dough with kids, let them help fill the balloon (it's messy fun), and they have a finished toy the next day. The foam project requires keeping everyone, especially kids, away from the curing mold and the toxic materials, which is a much tougher logistical ask in a home environment.
Which Is Safer to Make with Kids?
The balloon squishy is inherently safe for supervised crafting. White glue and cornstarch are non-toxic, common household items. The only point of caution is using scissors to snip the tip of the balloon nozzle for filling—an adult should handle that or closely supervise.
I don't recommend the foam squishy for kids under 10 to be involved in the making process at all. The uncured foam releases irritating fumes that can affect breathing and sticks to everything. Even with a mask and gloves, it's a job for a dedicated, well-ventilated workspace completely away from curious hands. Kids can enjoy painting the cured foam piece, but that's a separate, later stage. To go deeper on this point, see A Complete Checklist for Making Squishies with Balloons.
What Are the Common Mistakes When Making Each Type?
Balloon squishy:
- Adding too much filling. This is the number one mistake. The right ratio is roughly 2 tablespoons of white glue to 1 tablespoon of cornstarch. Mix until it forms a dough that's not sticky. That's enough for one standard balloon.
- Tying the balloon before adding the dough. It sounds obvious, but in the excitement, people seal the balloon and then realize they can't get the dough in. Always stretch the balloon neck open over a funnel or bottle first.
- Drying in direct sun or on a heater. This dries out the rubber balloon from the outside in, causing premature cracks and a brittle shell. Use a shaded, room-temperature, ventilated spot like a closet rod or a shelf.
- Not getting all the air out. After adding the dough, squeeze the balloon to push out excess air before tying it. A smaller air pocket is better for control.
Foam squishy:
- Skipping gloves or a mask. The foam is a mess and a mild health hazard before curing. Nitrile gloves are essential, and a proper respirator is highly advised.
- Filling the mold more than halfway. The foam will expand dramatically and overflow, creating a huge mess and wasting material. For a standard mold, a teaspoon of liquid foam is often enough.
- Demolding or painting before it's fully cured. The foam might feel dry on the outside but still be tacky inside. Wait a full 24 hours. Painting on a slightly damp surface causes the paint to bead up or create a blotchy, uneven finish.
- Using the wrong paint. Watercolor or poster paint will not adhere. Use acrylic paints, and consider sealing it with a clear matte varnish for durability.
Is It Worth Trying Both Types?
Yes, absolutely, but I strongly recommend trying them in order. Start with the balloon squishy to learn the basics of the craft—dealing with fill ratios, curing times, and the simple joy of creating a squishy toy from scratch. It's a zero-risk way to see if you enjoy the process.
Once you're comfortable and know you like it, then invest in the supplies for a foam squishy. The upfront cost is higher for the foam, mask, gloves, and molds, but the finished products are more durable, detailed, and have a polished look. In fact, foam squishies are the type you could realistically sell at a craft fair or online.
Each type serves a different purpose. The balloon version is about the quick, satisfying, sensory-making experience. The foam version is about creating a more permanent, artistic object. Trying both gives you a full spectrum of what this craft can be.
*This article is for informational purposes only. Crafting involves materials that may require safety precautions; always follow product instructions, work in a ventilated area, and supervise children. The author is not responsible for any outcome.*
See also
Frequently asked questions
Can I use a regular party balloon for a balloon squishy?
Yes, any latex balloon works. Colored ones are better because they hide the white dough inside. Avoid metallic balloons — they don't stretch and will pop when you try to put the filling in.
Can a foam squishy be washed?
No. The foam absorbs water and takes days to dry, creating mold. If it gets dirty, wipe it with a slightly damp cloth and dry immediately with a paper towel. Balloon squishies also can't be washed — water gets in through the knot and ruins the dough.
How much does each type cost to make?
The balloon squishy costs practically nothing: glue and starch you already have at home, and the balloon costs pennies. The foam squishy runs between BRL 30 and BRL 50 counting the foam canister, gloves, and mold. If you're making several, foam pays off because one canister yields 5 to 8 squishies.